Decorating
I had some royal icing in the freezer from a year ago… I wouldn’t recommend leaving it in there that long. I figured I wasn’t going to eat it so it wouldn’t hurt to use it up. I think the internet told me once a couple of months is good but fourteen months may have been a little long.
Regular royal icing is fine. When I decorated Halloween cookies (where the frozen icing came from) I used a recipe that used egg whites. I was concerned about room in the fridge for all the cookies with the egg whites. It turns out science says there is so much sugar in the icing that bacteria can’t grow!? Nobody died or got sick and fridge space wasn’t taken unnecessarily.
This time around I opted for the regular old powder sugar, a splash of liquid (I used water), and vanilla. Thinking about it now it seems silly that I added the vanilla since I’m not planning on eating the house. Oh well.
If you’re looking to color your icing you can use regular food coloring but be prepared to need to thicken your icing. It will take quite a bit of coloring. The gel food colorings are really good and make coloring a lot of food easier. It also helps to not water down your icing.
Side note: Any links to products will cost you no more than if you found it on your own, but a purchase will help me earn a little.
Icing Tips
Changing the consistency of the icing by controlling the amount of liquid really helps for details. The thicker icing is great for details and outlining. Runnier icing is great for flooding.
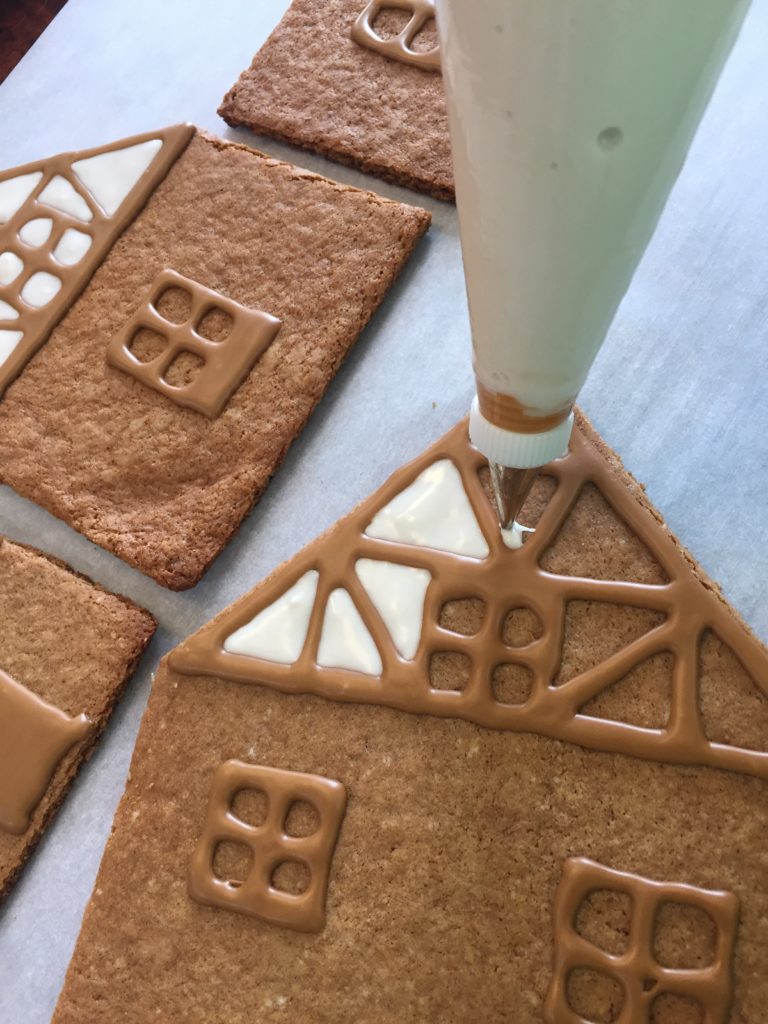
I used my Wilton cake tip decorating set but mostly just the round, writing ones. They work great for details and outlining. Then, I used a flatter one (#47) to run a bead along the edges for connecting the pieces. Then I switched to something with a larger opening (#21) to help with the flooding. But to be honest, snipping the corner off a plastic baggie works just as well. Just be careful to not snip off too much!
Design Inspiration
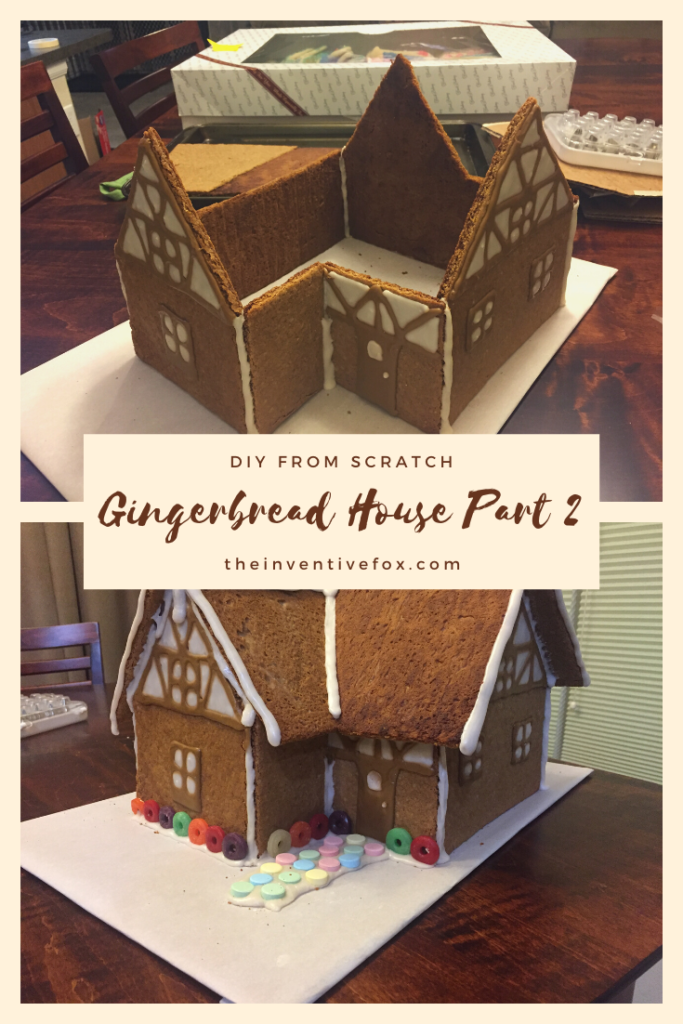
What kind of house do you find adorable? This year I decided I wanted to go with more of a ski lodge kind of look. Turns out that would be a “tudor style home” and there are some great photos out there on the web. Check out my Pinterest board for my gingerbread house for more inspiration, pictures, and I think there are even a few technique tips I’ve pinned on there.
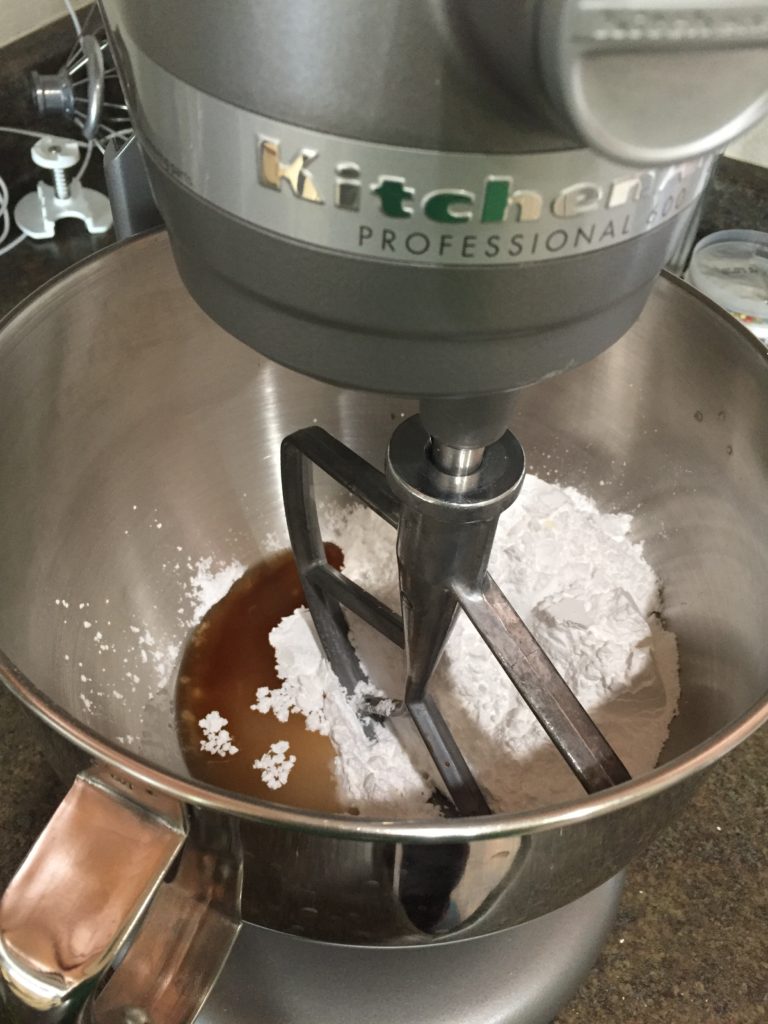
Mixing a big batch of icing. 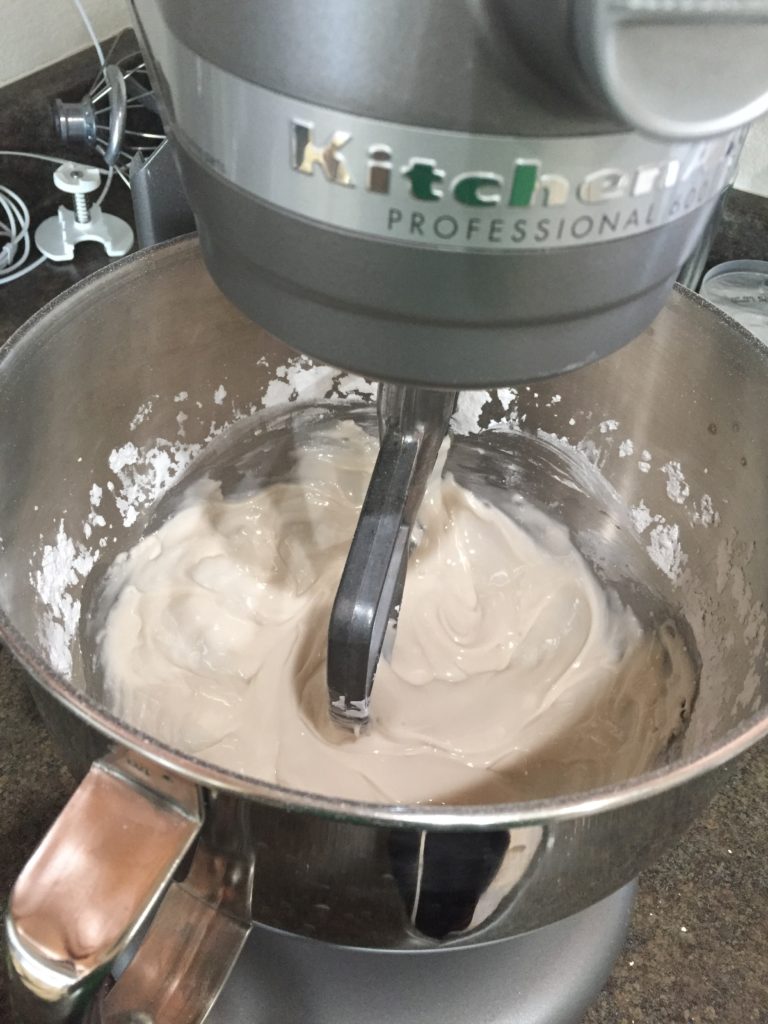
My arm would have gotten tired if I had to beat all that sugar by hand, but I’ve done it before! 
Flooding the design. Should have thickened the outlining… 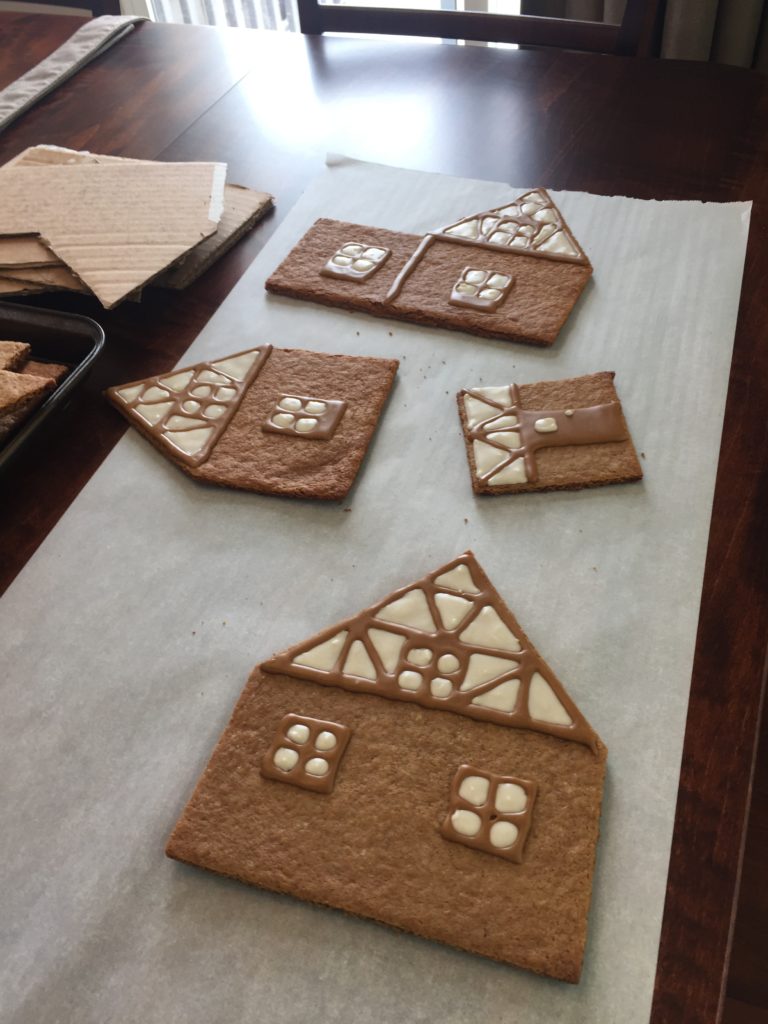
Sides done! 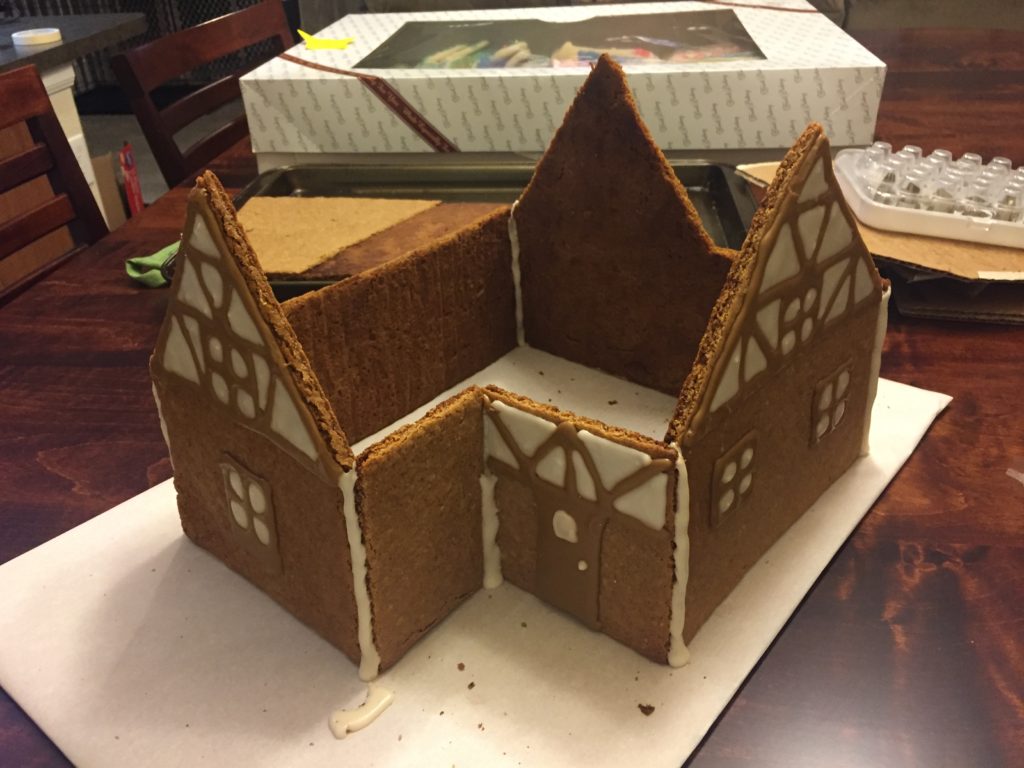
Walls assembled. Let it set for a day to make the roof attachment easier. 
Done with the design! 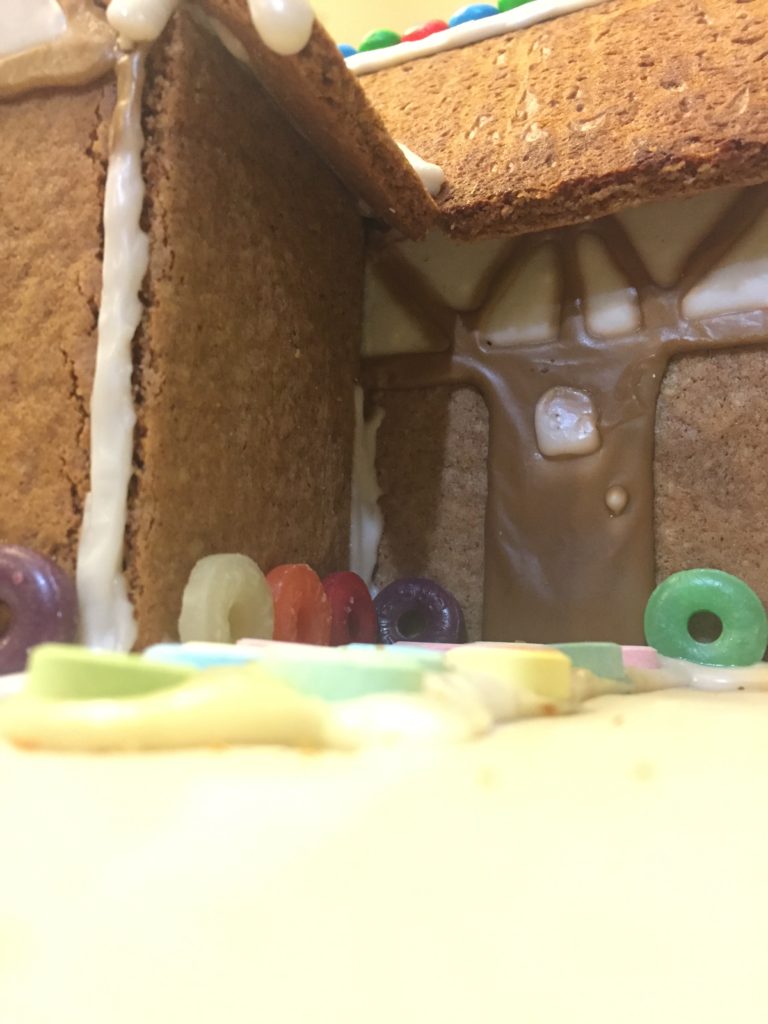
Cute walkway 
Adorable. 

Close up!
Also, this year instead of buying candy I raided our candy corner stash. This is where the hubby likes to think he hides candy from me but in reality it isn’t my favorite kinds so I just leave it alone. But, it works to hide it from himself too! So, I pulled out the lifesavers from our honeymoon in Jan of 2018 (they were getting soft), other expired candy, and the Halloween candy that he was supposed to take to work… which is now hidden someplace again… because it was left on the table but I’m not sure it actually left the house…

Good luck with your decorating! PLEASE share with me the final results if you give it a go! Check me out on the Insta or Facebook!

1 thought on “Gingerbread House 2019-Part 2”