Our first kid is on the way and so far our house is a nice two bedroom two bath house, with an office. We of course have the master bedroom but the other room has been the guest room since my husband bought the house. The first discussion was where will the kid go? Obvious answer: the spare room will become the nursery. That leaves us with a queen sized bed, book case, and a few other items stored in the closet to find a new spot for.
The husband wanted to move the office out and put the kid in there but it has a few flaws. First, there is all the internet and printer and computer stuff in there. Where would we put that? The spare room isn’t large enough with a queen sized bed in there and our basement is unfinished and only includes two outlets. (I’m sure that will continue to come up.) The second issue I have with using the office is the fact that it has glass french doors into the hallway. My husband hasn’t been around kids much and doesn’t see the toddler throwing a fit and hitting the door after being sent to their room like I do. His mom even has a story of having to hold his door shut because he was throwing a fit once and was being mean so she sent him to his room and he wouldn’t stay. I don’t see that going over well with glass doors. Plus we would have to do something about curtains on them and the light coming through and no closet… Spare room it will be!
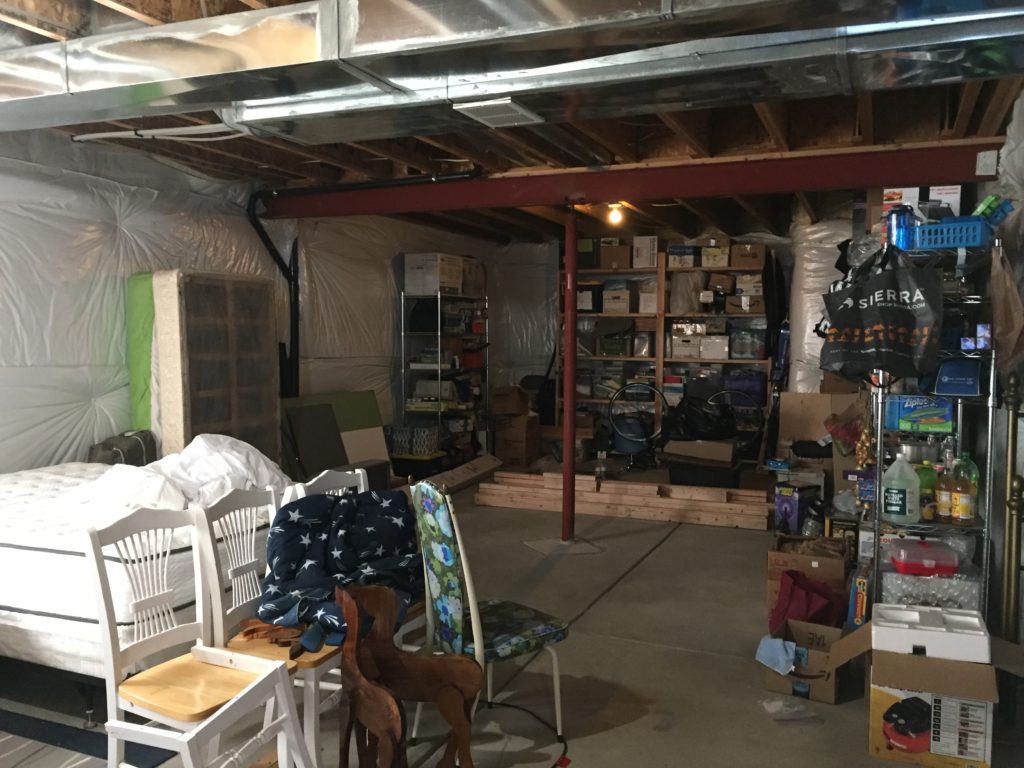
So, what to do with the bed? Put it in the unfinished basement of course! That’s where most things seem to go. (…as I eye the vertical blind parts that were supposed to go back where they came from, sat in the garage for almost a year and are now in the basement…) I know it isn’t ideal, but when we have visitors, like my parents twice a year, they’ll need a place to sleep. The problem beyond the basement being unfinished is the fact that it already has a queen sized bed and a twin bed! We apparently have a bed hoarding issue but I’m not allowed to get rid of any. So, we needed to rethink the whole basement layout and work on making it more welcoming for visitors while also making room for a second queen sized bed. A new house was very briefly discussed but instead we settled on staying here for another 5-10 years and will have to make due.
We came up with a plan for the new layout of the basement and then an order of how to accomplish the task:
- Build another set of shelves to create a separate storage area and more shelf space
- Move the boxes from the completely opposite side of the basement to create more of a crafting space for me. (Yay for crafting space!)
- Clean the other corner and move all of the tool items to this corner.
- After emptying the tool area, move the food and extra kitchen items to the old tool space so it is closer to the freezer (Limited outlets remember?)
- Organize the rest and reassess where to put the beds
Summer of 2018 I was going to take the summer to organize the basement and shelves were top priority! Pinterest is my great resource on ideas for many things but this time it was shelves. They needed to be low cost and hold large plastic totes and boxes of various sizes. I settled on combining a few ideas to best fit the space and two sets were easily constructed and filled within a few days.
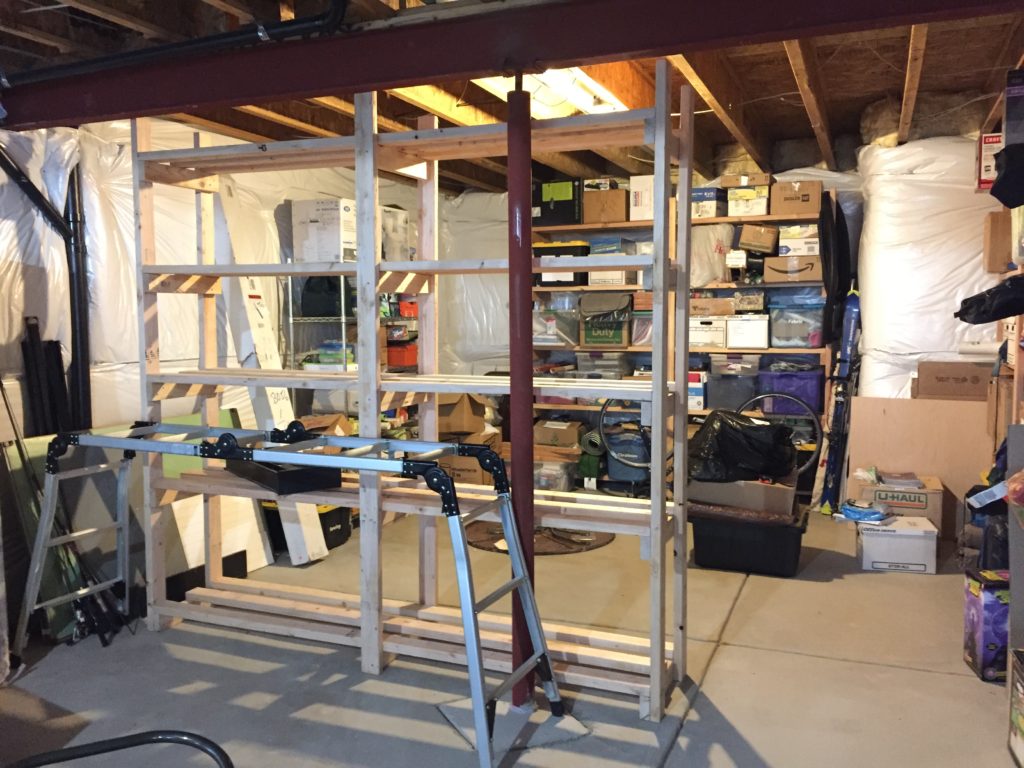
Then we realized we couldn’t really make more room for another bed without more shelf space and needed to add another. Not only would the new set of shelves hold more of the bins needing a home but we picked a location which would create a sort of “room” for all our storage items. This way visitors wouldn’t have all of our stuff starting at them and we would have a defined place for storage.
My husband had the joy of assembling the shelves this time and actually took over the task. The design is pretty simple and uses all stud sized 2×4’s. We needed five shelves so we made the shelves as wide as a 2×4 divided by 5, or 19” wide. The height worked with a full 2×4 and the shelves are just as long as a 2×4. We used the distances between shelves that we used last time. They were measured from the bins we had and putting heavy stuff on bottom with light stuff on top to help prevent tipping. Sounds pretty simple, right?!

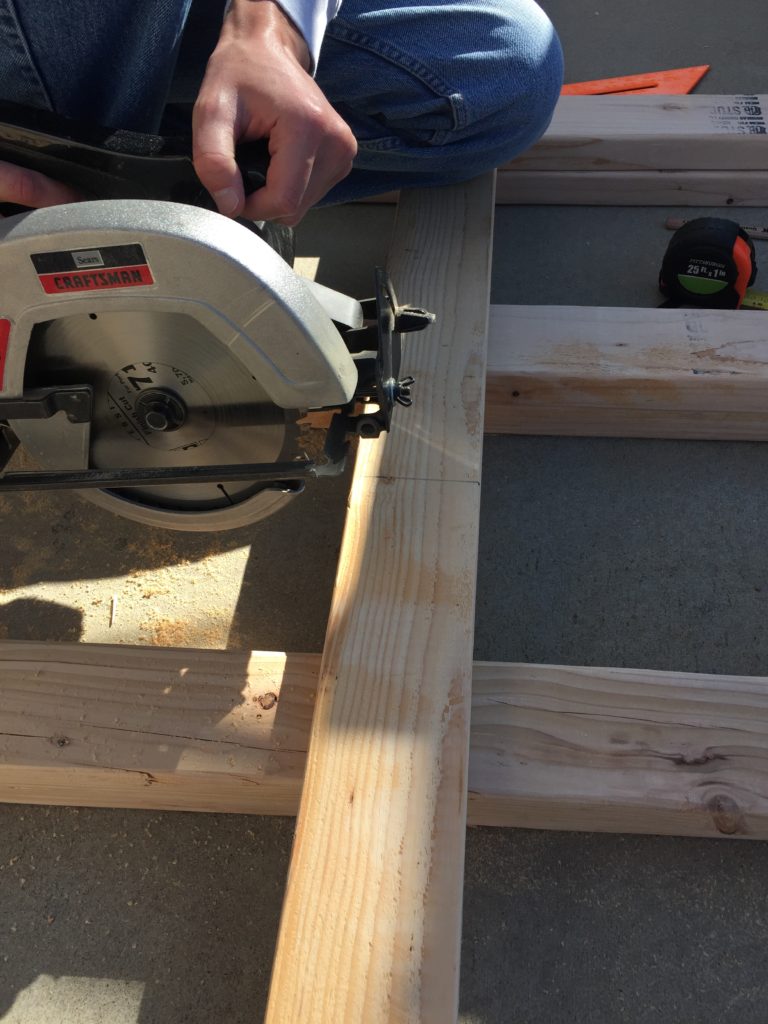
Everything was going smoothly until he made the second cut on the miter saw and it broke. You know, just the safety shield… because it could. So we thought all hope was lost and the husband was not liking the options I was giving him: ask the neighbor to borrow a saw, saw them by hand, bring them to his parents’ house or have his dad bring their saw. Just as all hope seemed lost and our weekend goal of new shelves was slipping away I remembered we had a circular saw that would work! The day was saved.


The shelves were assembled and I left him to arrange the boxes and bins. Somehow, all the stuff we thought needed a home doesn’t nearly fill the new shelves. I’m sure by the end of the process they will be fully utilized. Step one: mission accomplished.
